Living under lockdown has changed our lives a lot, but on the good side, it gave us more time to notice imperfections inside our home and consider some home improvements. Many Australians have used this time to seek inspiration for the much-needed renovation projects and make their homes more comfortable and enjoyable places.
Home improvements can be made by upgrading certain features, fixing or repairing things inside and around your living space. They can add to the real estate value of your home if you ever decide to sell, but most importantly, they can keep you and your family happy as long as you live there. Even some small DIY projects can provide you with the pleasant environment you deserve.
One of the first things you can do to ensure the comfort and cosiness of your space is to check the condition of your flooring. And if it needs an upgrade, you should know that successfully installing new flooring requires levelling your floor, more common in older houses. Slightly sloping floors often worry homeowners, and if you are one of them, you may consider a floor leveller.
Why Is It Important to Level Your Floor First?
Most often, a sloping floor is caused by the floor being out of level or sagging somewhere in the middle. Other signs of an uneven floor might be squeaking sounds, bounce and movement when someone walks across it as well as cracking tiles or grout. To ensure a successful installation, any low or high points need to be fixed, so the surface will be flat before the installation process begins.
Before you start, consider the type of flooring that will be installed over it. Each one of them has its own characteristics that affect installation and some require more prep work than others to ensure the finished floor looks great. Loose lay vinyl flooring, for instance, might be a bit more flexible when it comes to variations in the flatness of the subfloor, while rigid materials require a more careful preparation process.
Installing your floor over a substrate that dips or heaves can go wrong in many ways. If you are working with hardwood planks, gaps can appear between them, while laminate planks can pull apart. When it comes to ceramic tiles, especially larger ones, an undesirable effect of lippage can be formed. To prevent any of these, you may be wondering what should I use to level my floor?
What You Should Know About Floor Levelling?
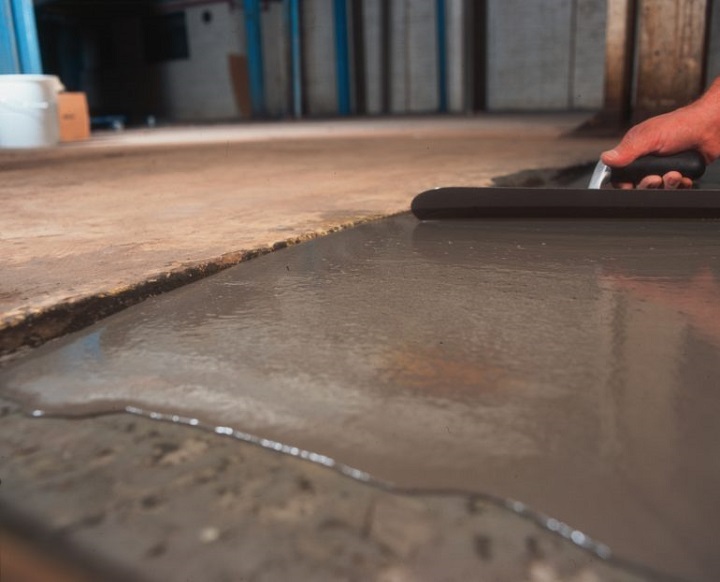
Considered a simple DIY project, it’s one of the most common tasks homeowners undertake on their own. Floor levellers are easy to use and create a smooth, flat surface within a day. They can dry really quickly and provide great comprehensive strength. They can be used on almost all types of floors.
However, subfloors with structural issues, rot or insect damage call for professional attention. If your budget allows it, it’s always a good idea to hire professionals to do the job for you and avoid any potential issues, especially if you are not an experienced DIY-er.
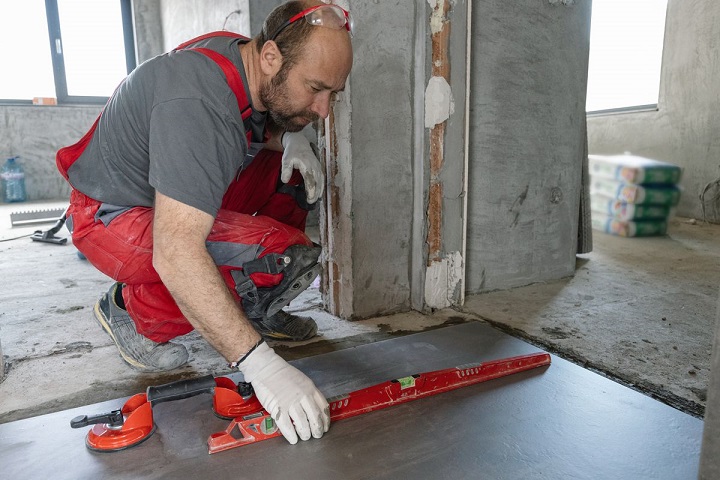
Make sure you always inspect the condition of your floor before starting with the levelling. Locate the high and low spots with a straightedge and measuring tape. Choose one side of the room and start from there. Swing the straightedge from one point of the room across the floor and mark any high and low areas. Keep doing this around the entire room until you have surveyed every point of the floor.
Learning how to level a floor is worthwhile when you are renovating your home. Many people choose a floor leveller, a product that can be bought online or in-store from most builders’ merchants or DIY warehouses.
Before you begin, prepare your floor to be levelled with the following steps.
- Remove all furniture and skirting boards
- Sweep and vacuum the floor thoroughly and mark any holes or cracks that will need to be sealed
- Once the cleaning is done, fill the holes and cracks with a filler and sealer
If the floor coating is not totally contained, you may end up with a big mess on your hands and probably will have to repour again. Seal all holes and seams and be thorough as the leveller may drain through the smallest openings. Make sure to order more of it, preferably 20 per cent more, as running out of leveller before a pour is finished can make things complicated for your project.
As you pour, move the bucket along the floor and keep it low at all times to minimise splashing. In case you splash on the wall, don’t wipe it off right away as small drops can easily turn into large smudges. It’s better to let it dry and then scrape it off.
Always make sure to read the instructions printed on the product. This can help you prepare it right, determine the thickness of your pour and learn how many pours are required. Begin the levelling at the far end of the room and head towards the door. Once you are done pouring the floor leveller, avoid dropping the dirty water down a drain.
Always Consider Safety
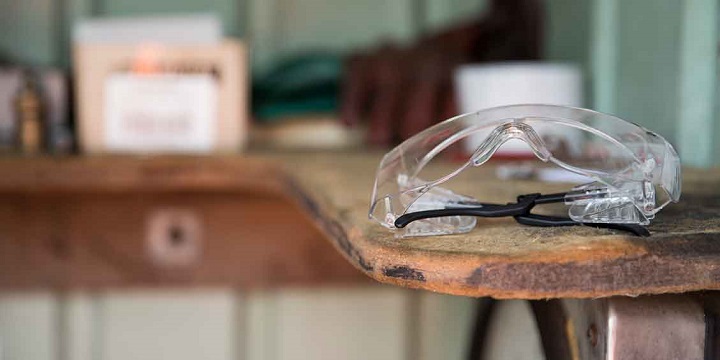
Before you start any renovation work, make sure you have the right PPE. This includes everything from safety glasses to a mask and gloves.
In the end, once it’s dried and your flooring is installed, you can bring back the furniture and consider a few simple ideas to add a sophisticated edge and transform your home from boring to beautiful.