Woodworking is one of those activities that can be both enjoyable and challenging. On the one hand, you’re faced with intricate and delicate design challenges that require a great deal of patience and dedication to turn your vision into reality. On the other hand, it’s also a great way to express your creativity with your own unique style, with simple yet effective creations that reflect your skill and imagination.
Of course, not all of us have the time and resources to build complex pieces of furniture or sculptures, so what can you do if you want to craft something with wood? The answer is simple – invest in a durable and high-performing wood lathe for sale that delivers professional results. Wood lathes are perfect for turning wood into unique pieces that you can use to beautify your home, office, or any other space, and even create a few wooden toys for the little ones.
What Is a Wood Lathe?
In a nutshell, lathe machines are heavily used tools in metal and woodworking, allowing the user to cut, shape, hollow out and form various different items from raw materials. It certainly takes away a lot of the hard work and effort needed to create intricate items with precision and accuracy.
When it comes to woodworking, a wood lathe is an indispensable tool that allows you to turn cylindrical shapes from raw timber, giving you more control over the shape and design as compared to other methods of woodworking. It also allows you to create complex designs with more control over the final result.
Main Components of a Wood Lathe
To understand the functionality of a wood lathe in more detail, you need to be aware of all the separate components that make up the machine itself. Each one becomes an integral part of the journey of transforming raw timber into the finished product.
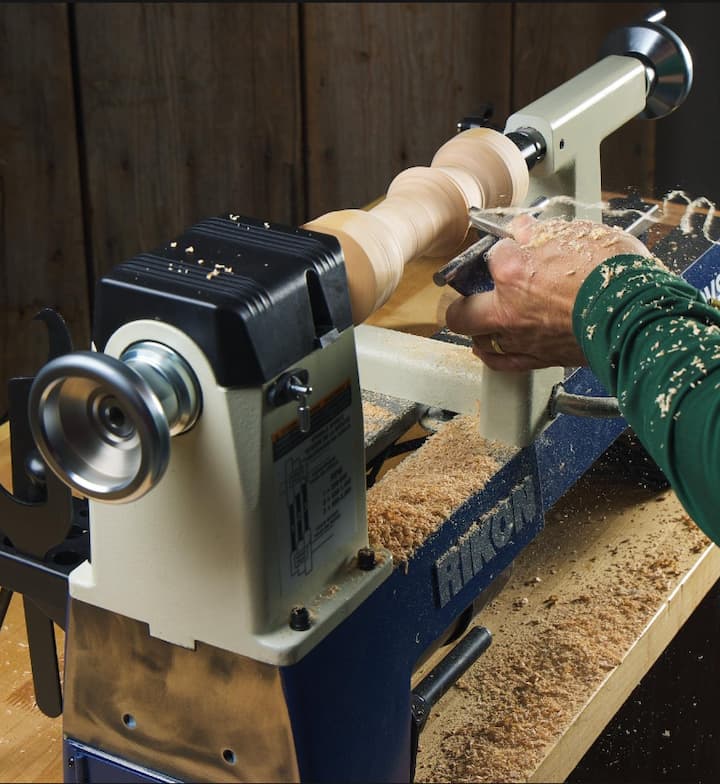
Headstock
This is essentially the motor of the lathe that is mounted at one end and drives the spindle. The spindle is connected to a number of drive centres which provides stability and support to the timber while it is being turned. When you place your timber against the headstock, it will rotate with the spindle and be guided by the drive centres.
Tailstock
The tailstock is mounted at the other end of the lathe and supports the timber in order to provide more stability while you work. It is usually adjustable so that it can be positioned for different lengths of pieces of wood, and also features a drill chuck which can be used for drilling holes into the material. It takes on the task of securing the end of material that is being worked on.
Bed

Next up is the flat surface on which the material rests while you work. It is usually cast iron and provides a stable platform to work from. It’s attached to the headstock and tailstock via adjustable slides, allowing you to adjust the distance between the two. When you place a piece of timber on the bed, it is positioned between these two points and then secured in place.
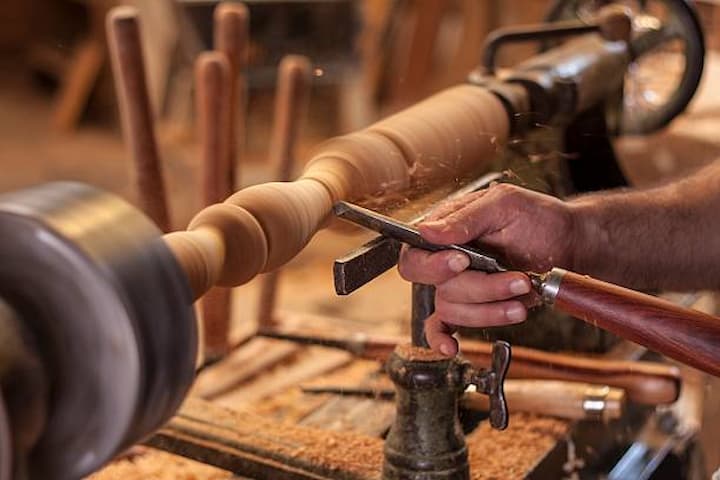
Tool Rest
The metal bar mounted on the bed is used to mount various tools and attachments that are required for the project. The tool rest allows you to safely work with a chisel or other cutting tools without having to worry about them slipping off the wood while you work. Depending on the model, it may consist of several removable components which can be adjusted to the desired position.
Speed Control
Last but not least, the speed control allows you to adjust the speed of the spindle, so that you can choose how fast or slow you want your workpiece to rotate. This can come in handy when there’s more complex work to do, with detailed carvings, cuts or finishes required. Slower speeds are inherently more convenient and provide more control over the result, while faster options bring the speed and efficiency that is required for larger projects.
Tips on Using Wood Lathes Effectively
When you decide on a wood lathe for sale, you need to fully understand how to use it effectively in order to create the desired results. While the basic process is relatively straightforward, there are a few tips that can help you optimise your experience with the machine.
Preparing the Wood
As the foundation of your project, it’s essential that you use the right type of wood for the task at hand. You need to choose a piece that is straight and free from defects or cracks, as these can weaken your workpiece and pose potential risks. In addition, you should make sure that the piece is adequately sized and shaped for the lathe. Round shapes are best suited for most projects as they allow for greater control over the result.
Mounting the Wood on The Lathe
Once you have the right piece of wood, the next step is to mount it on the lathe. To do this, you need to secure the headstock and tailstock as needed, then place your wood against the headstock and tighten the drive centres to hold it in place. Each piece has to be properly secure to ensure it doesn’t move while the spindle is rotating.
Turning Techniques
Now that your wood is mounted on the lathe, you can start transforming it into your desired shape. This is where you need to be mindful of the grain and texture of the wood – if not done correctly, it could end up looking uneven or sloppy. Some of the techniques you can use include spindle turning, faceplate turning and pen turning.
Spindle turning involves cutting the wood along its grain, while faceplate turning uses a mounted disc and cuts across the grain and pen turning involves turning small pieces of wood into pens or intricate designs. All of these techniques require the use of a variety of chisels and other tools which you can mount on the tool rest for greater convenience.
Sanding and Finishing
After your final shape is achieved, it’s time to sand and finish the piece. Depending on the type of wood you’re using and the desired look, there are a variety of different finishes that can be applied. You can either use sandpaper for basic finishing or apply varnish or other sealants if you want something more durable and long-lasting.