For the avid movie fan, nothing beats the thrill of an immersive, fully-customised home theatre system. Sure, going to the cinema is great, but sometimes it’s nice to be able to control every aspect of your viewing experience. Being in charge of movie nights is certainly one of the major benefits of having a home theatre system, so why not make it one to remember?
How Do You Set Up a Home Theatre System?
For the most part, putting together the bones of your home theatre system is fairly straightforward. If you have the right equipment, it’s just a matter of plugging it in and adjusting the settings.
Find the Optimal Position for the Screen
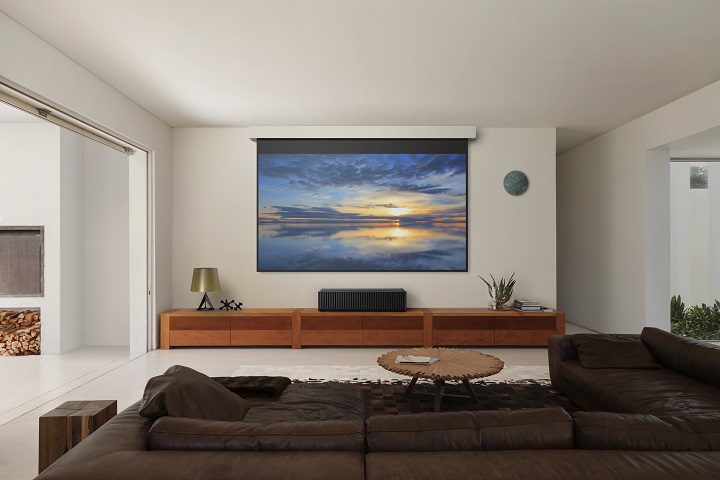
When it comes to setting the stage for large projector screen TVs it’s all about finding the throw distance or the right spot for your screen in relation to the projector. The throw distance is simply the distance between the front of your projector and the screen surface. It’s important to get this right as it will affect the size and clarity of your image.
Most TV projector screens have a general outline of their maximum resolution. They can range anywhere from 40” to 200” diagonal. It all depends on the size of your room, the lights and other factors like whether you can use a wall or need to hang the screen from the ceiling.
In terms of build, projector screen TVs are usually made of either a standard white matte or an acoustic transparent material. The latter is better for image clarity and sharpness, but the former is cheaper and better suited if you have a smaller room. Both options can be retracted when not in use, which means they’re an efficient way of reclaiming some space after your movie night.
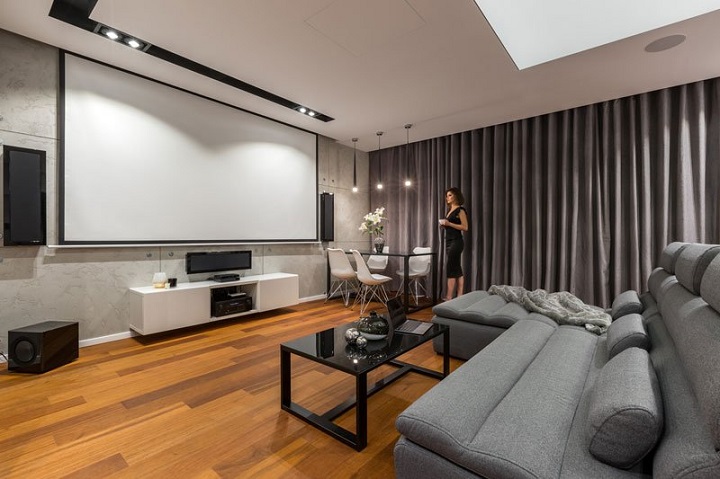
Generally speaking, they’re designed to be fixed into position with screws using studs or drywall anchors, which are usually included in the package. Sometimes, there’s even a specialised stand with adjustable height that makes mounting a breeze.
Either way, make sure you mark the places where you’ll be mounting the screws, then use a leveller to ensure the screen is perfectly straight. When you’ve done that, you can attach the projector screen to the wall or ceiling.
Calculate the Right Height and Placement for the Projector
Once you’ve figured out where your screen should go, the next step is to decide how high your projector should be. Do you want to mount it on the ceiling or set it on a table?
If you’re mounting a projector, the ideal height is around 0.8 metres off the ground, which will ensure you get the best image quality. On the other hand, placing it on a table or trolley is recommended if you want to be able to move it around more easily.
Adjust the Image with Lens Shifts
When you’ve connected your projector to the power and your chosen picture source, you need to make sure that all of the settings are adjusted correctly. In the settings menu, you’ll find the option to adjust the lens shift. This feature is used to ensure that your image fits perfectly on the screen and does not appear warped.
Typically, most projectors come with two lens shift controls – one for the vertical and one for the horizontal axes. The former will help you adjust the image up and down, while the latter will let you move it from side to side.
Customise Your Zoom and Focus

No one wants to sit through a blurry, distorted movie as this will ruin the entire viewing experience. That’s why it’s important to take a few extra steps and make sure that your image is as sharp as possible.
The zoom and focus settings will help you do this. Simply use the controls in the projector’s menu to modify each setting until you get a crisp and clear image. Most devices use a 16:9 aspect ratio, which has become the standard for watching films and TV shows.
Connect Your Audio System
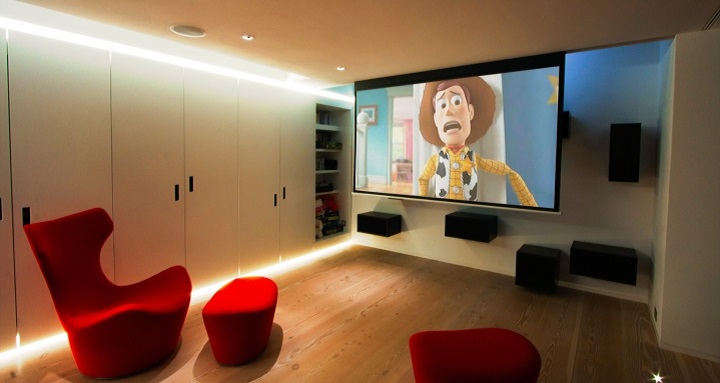
The audio aspect of your home theatre can be just as important as the visuals. Depending on the size of your room and the type of projector you have, you may need a separate sound system to get the best results.
For example, if you want to go all out and build a proper cinematic experience, investing in a 5.1 surround sound system is probably the smartest move you can make. Not only will it provide extra depth and clarity to your audio, but it will also let you adjust the volume of each speaker separately.
If you don’t have enough space for a full sound system or the budget to cover the cost, a soundbar or an amplifier can also do the job. These units are small and compact, so they won’t take up much space in your living room.
Organise Your Cables
Connecting all the pieces of the cinematic puzzle is one thing, keeping them organised is something else entirely. To prevent your living room from becoming a rat’s nest of wires, make sure you use cable ties, trays, and other organisational tools.
That way, you’ll be able to hide all the cables behind your furniture, neaten up the installation and keep everything in one place. You won’t have to worry about tripping over dangling wires or struggling to find the right wire for each device.