Gardening is one of the most rewarding hobbies you can have. You give your plants attention, nourishment and water and they shower you with their colourful beauty and pleasant scents. And nothing can make you feel more proud than when a guest compliments your gorgeous plants.
But our modern lives consist of so many responsibilities that most of us don’t have the time needed to take care of a garden. What if I told you that there’s a way to grow happy and healthy plants without much hard work? Although it may sound unbelievable, it’s totally possible. All you need is to get yourself a good self watering pot or two or even a dozen!
How Do Self Watering Pots Work?
Despite what their name might tell you, these innovative planters do not water themselves like magic. You will still need to take a minute of your valuable time to add some water to them. But instead of having to do so each or every few days, these planters only require to be watered as much as twice a month. This makes them very convenient for people who are forgetful, those who travel a lot and those who have packed schedules. With all your plants in self watering pots, you can leave home for a week or two without having to task someone to water your plants while your gone.
In order to allow your plants to go a long time without watering, these planters have a unique internal structure. Self-watering planters have built-in water storage reservoir located at the bottom of the bottom and which you fill with water. Right above the tank is the potting soil, which wicks up the water from the tank through a special wicking system. As the roots absorb water, the soil wicks up more, thus allowing it to maintain a constant level of moisture. This way, the plant draws just as much water as it needs.
How to Use Self Watering Pots?
The frequency of watering depends on the size and design of the reservoir, the type of plant, the soil mix as well as weather conditions. At first, check the soil regularly and observe the plant in order to know how often the tank needs to be refilled. Some self watering containers include a water level indicator or have an opening in the reservoir that can help you judge when you need to add water.
In order for the plant to absorb the water more easily, use a well-drained soil mix in your container. A mix of equal parts peat and perlite is known for promoting aeration and root growth. Shellfish compost is another great ingredient to look for in container mixes.
Are Self Watering Pots Good for Indoor Plants or Outdoor Plants?
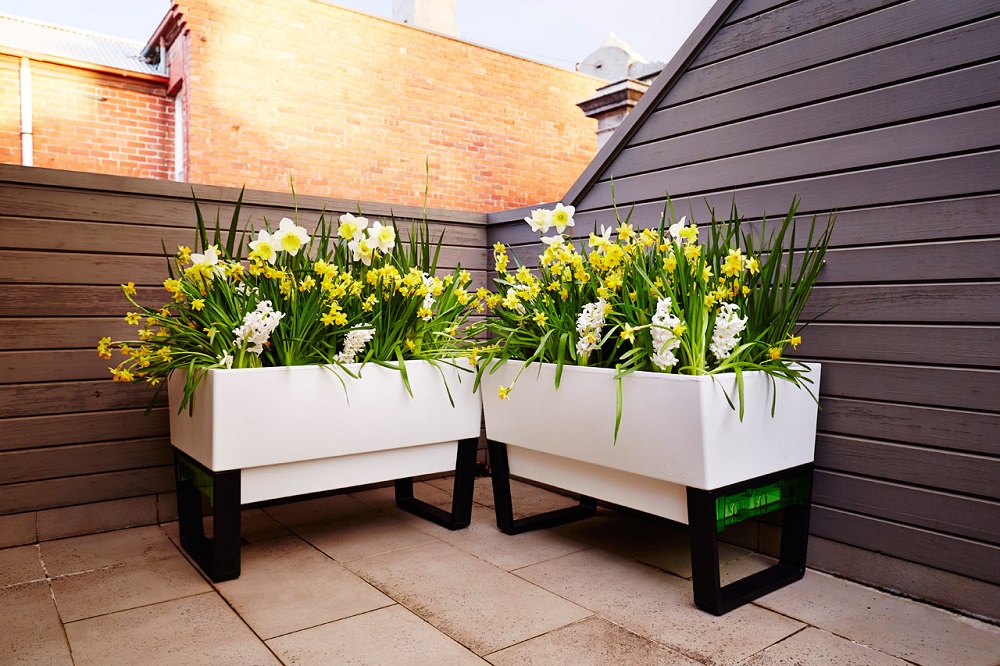
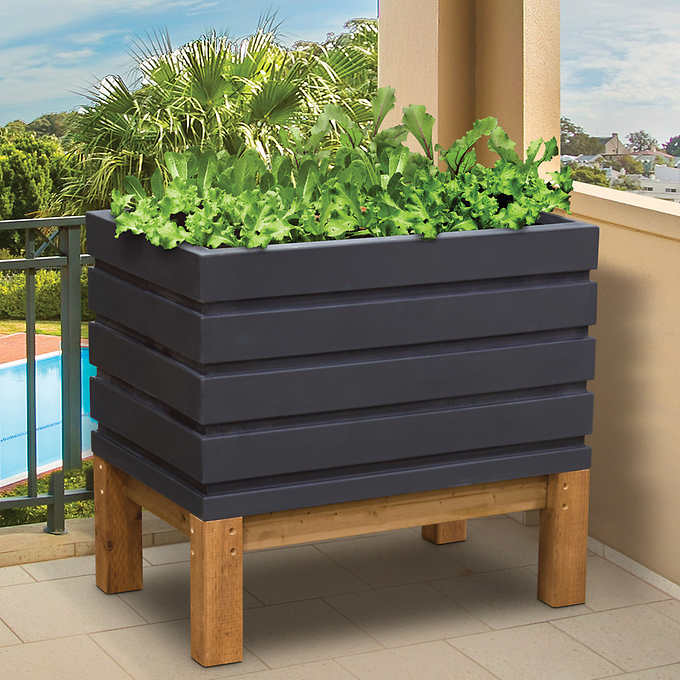
Self watering planters are suitable for indoor and outdoor plants alike – from vigorously growing tomatoes to petite decorative houseplants. However, these types of planters usually aren’t recommended to be used outdoors. Because the container is already full of water, the plants can drown if it rains for longer periods of time. But if you still want to decorate your outdoor space with self watering planters, you can solve this problem by protecting the soil with a waterproof cover or placing them in a spot where they won’t be rained on directly.
However, whether you’ll be using your pots for indoor plants or outdoor plants it’s important to pick the right species. Since the soil will always be in contact with the water, opt for plants that like the moisture. Tropical plants make great candidates as they thrive in moist soil. If you want an indoor plant, Peace Lilies are a wonderful option as they bloom in low light conditions and have gorgeous, broad leaves and fragrant white flowers.
Avoid using self watering pots with cacti, succulents or other plants that thrive in well-drained soil. It’s also said that some herbs like rosemary don’t taste as strong when grown in damp soil.
How to Plant in a Self Watering Pot?
First of all, consider how big your plant is going to grow and choose a pot with the appropriate size to avoid the need of repotting. Once you’ve picked a suitable plant and a container for it, the next step is to transplant it. First, cover the bottom of the pot with some fresh soil, then gently take the plant out of its previous container, being careful not to break the roots, and place it in the pot. Once the plant is in the pot, add some soil around it and even it out, making sure that it touches the entire inner surface of the pot. Don’t press too hard or the soil will be too compact and lack oxygen. After you’re done, simply fill up the tank and your new plant will be right at home and ready to grow.